Outline
Notice
- Please refer the official page including important notice.
- Troubleshooting page on this site may be also helpful.
- You can ask the staff via web form on the utelecon support desk.
How to use
Preparation
- You must be issued "UTokyo Account" to make UTokyo Wi-Fi account.
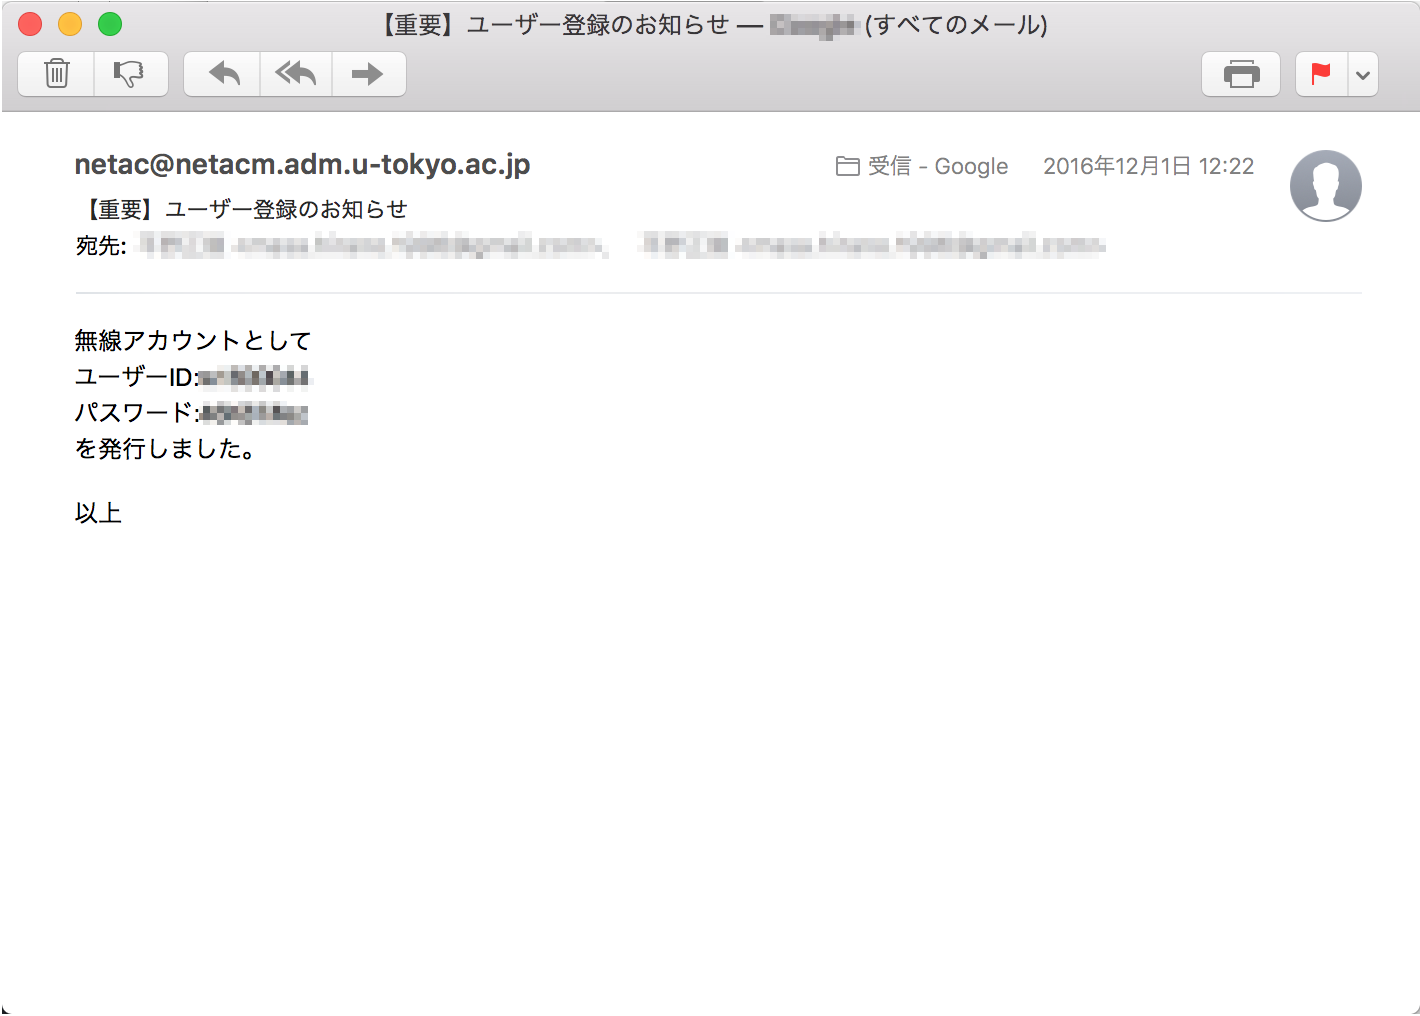
- You must register your e-mail address on UTAS previously if you are a student. An account information will be sent to the e-mail address you registered on UTAS.
- Registrations on UTAS will be applied tomorrow or after.
Creating an account
Please refer to the instruction on the official webpage.
Setting up your device
Setup your device to connect to UTokyo WiFi. The setting depends on the type of device. Please refer Setting on each devices.
The configuration is shown below. You can refer details and latest informations on the official webpage.
- SSID: 0000UTokyo
- Security: WPA2-Enterprise(802.1x)
- Encription: AES
- Authetification method: PEAP
- Server certification check: Must
- Trusted root certificate organization: Security Communication RootCA2
- SHA-1 Fingerprint: Refer Official page
- Auth Method/phase2 Auth: EAP-MSCHAPv2
Others
- You can use the same account on all of your devices.
- Your old UTokyo WiFi account will be expired by the end of April. You can issue new UTokyo WiFi account since the start of April.
- UTokyo WiFi is available in Hongo, Komaba, Kashiwa, Shirokane Campuses.
Setting on each devices
Android Devices except for SHARP’s
** Please note that following process might vary depending on your device or OS version.
An example of a recent version, Android 10
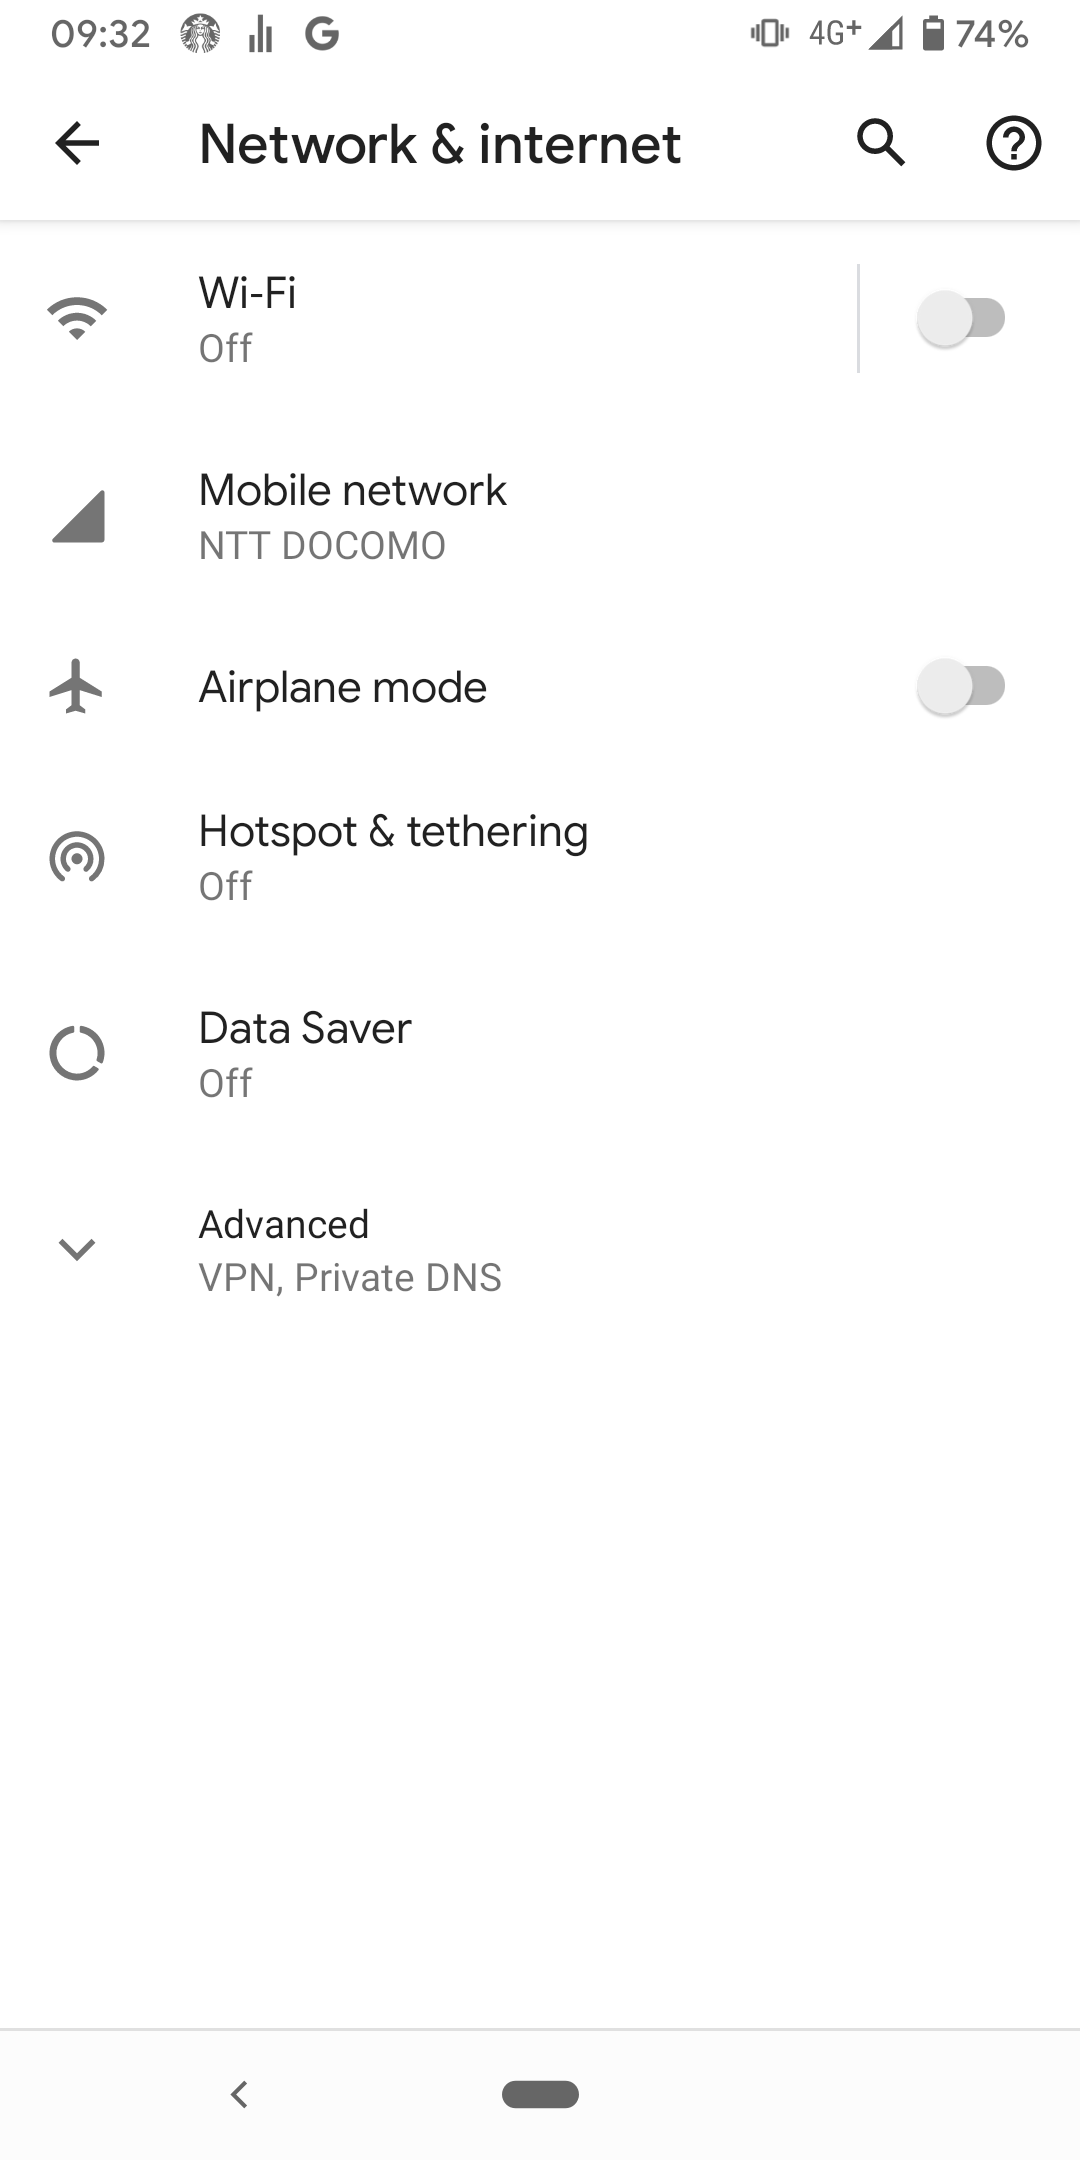
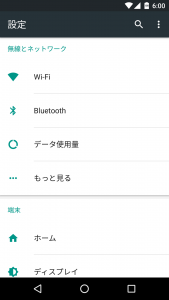
- Open Settings App
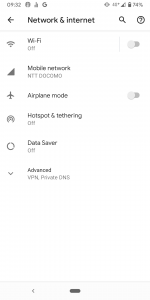
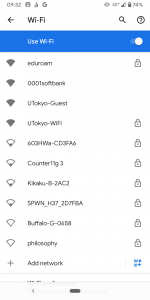
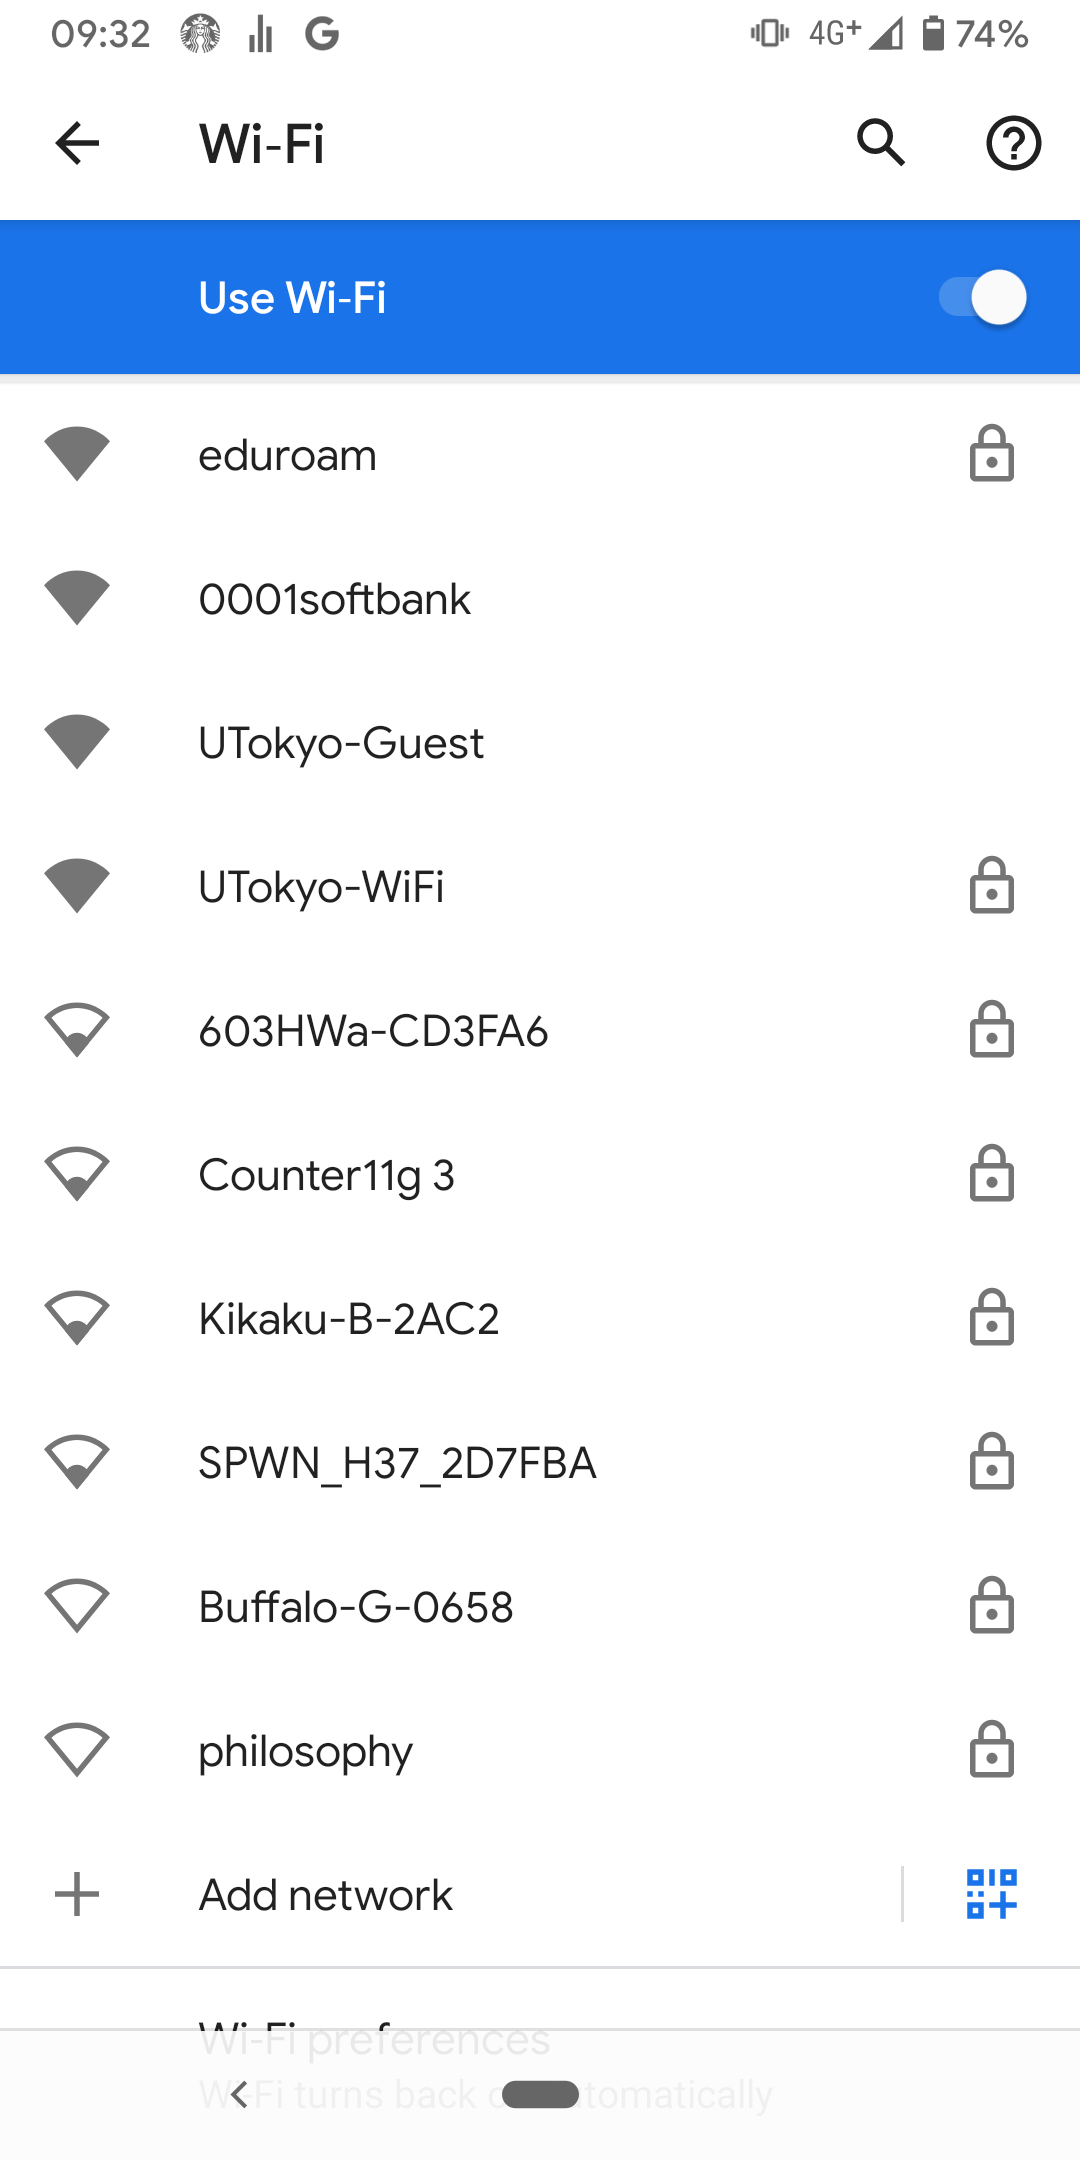
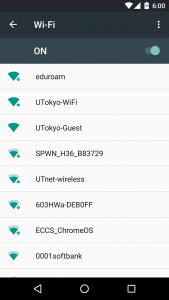
- Turn on Wi-Fi
- Tap 0000UTokyo (This screenshot is old)
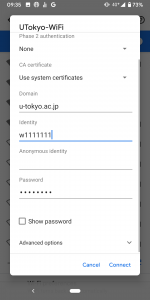
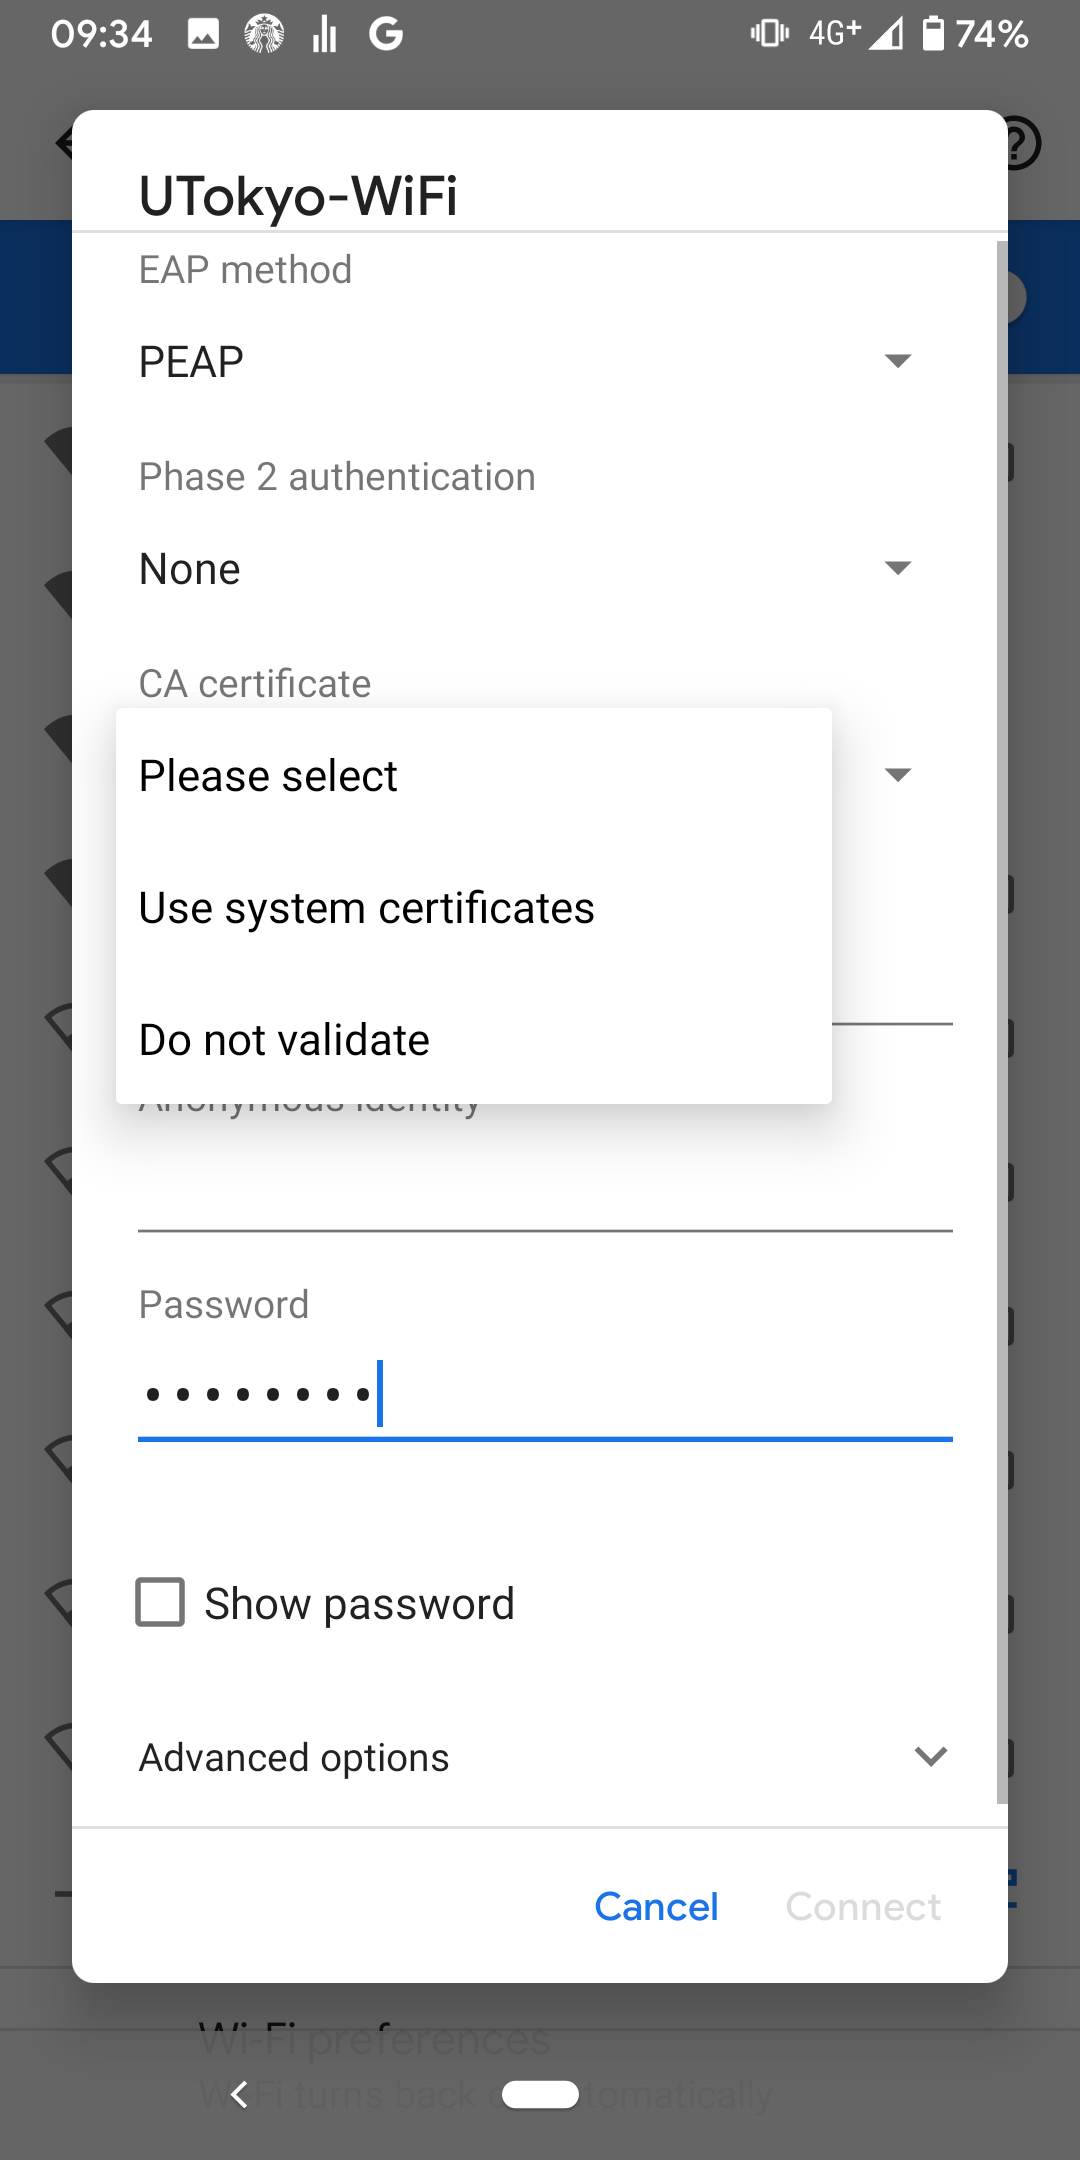
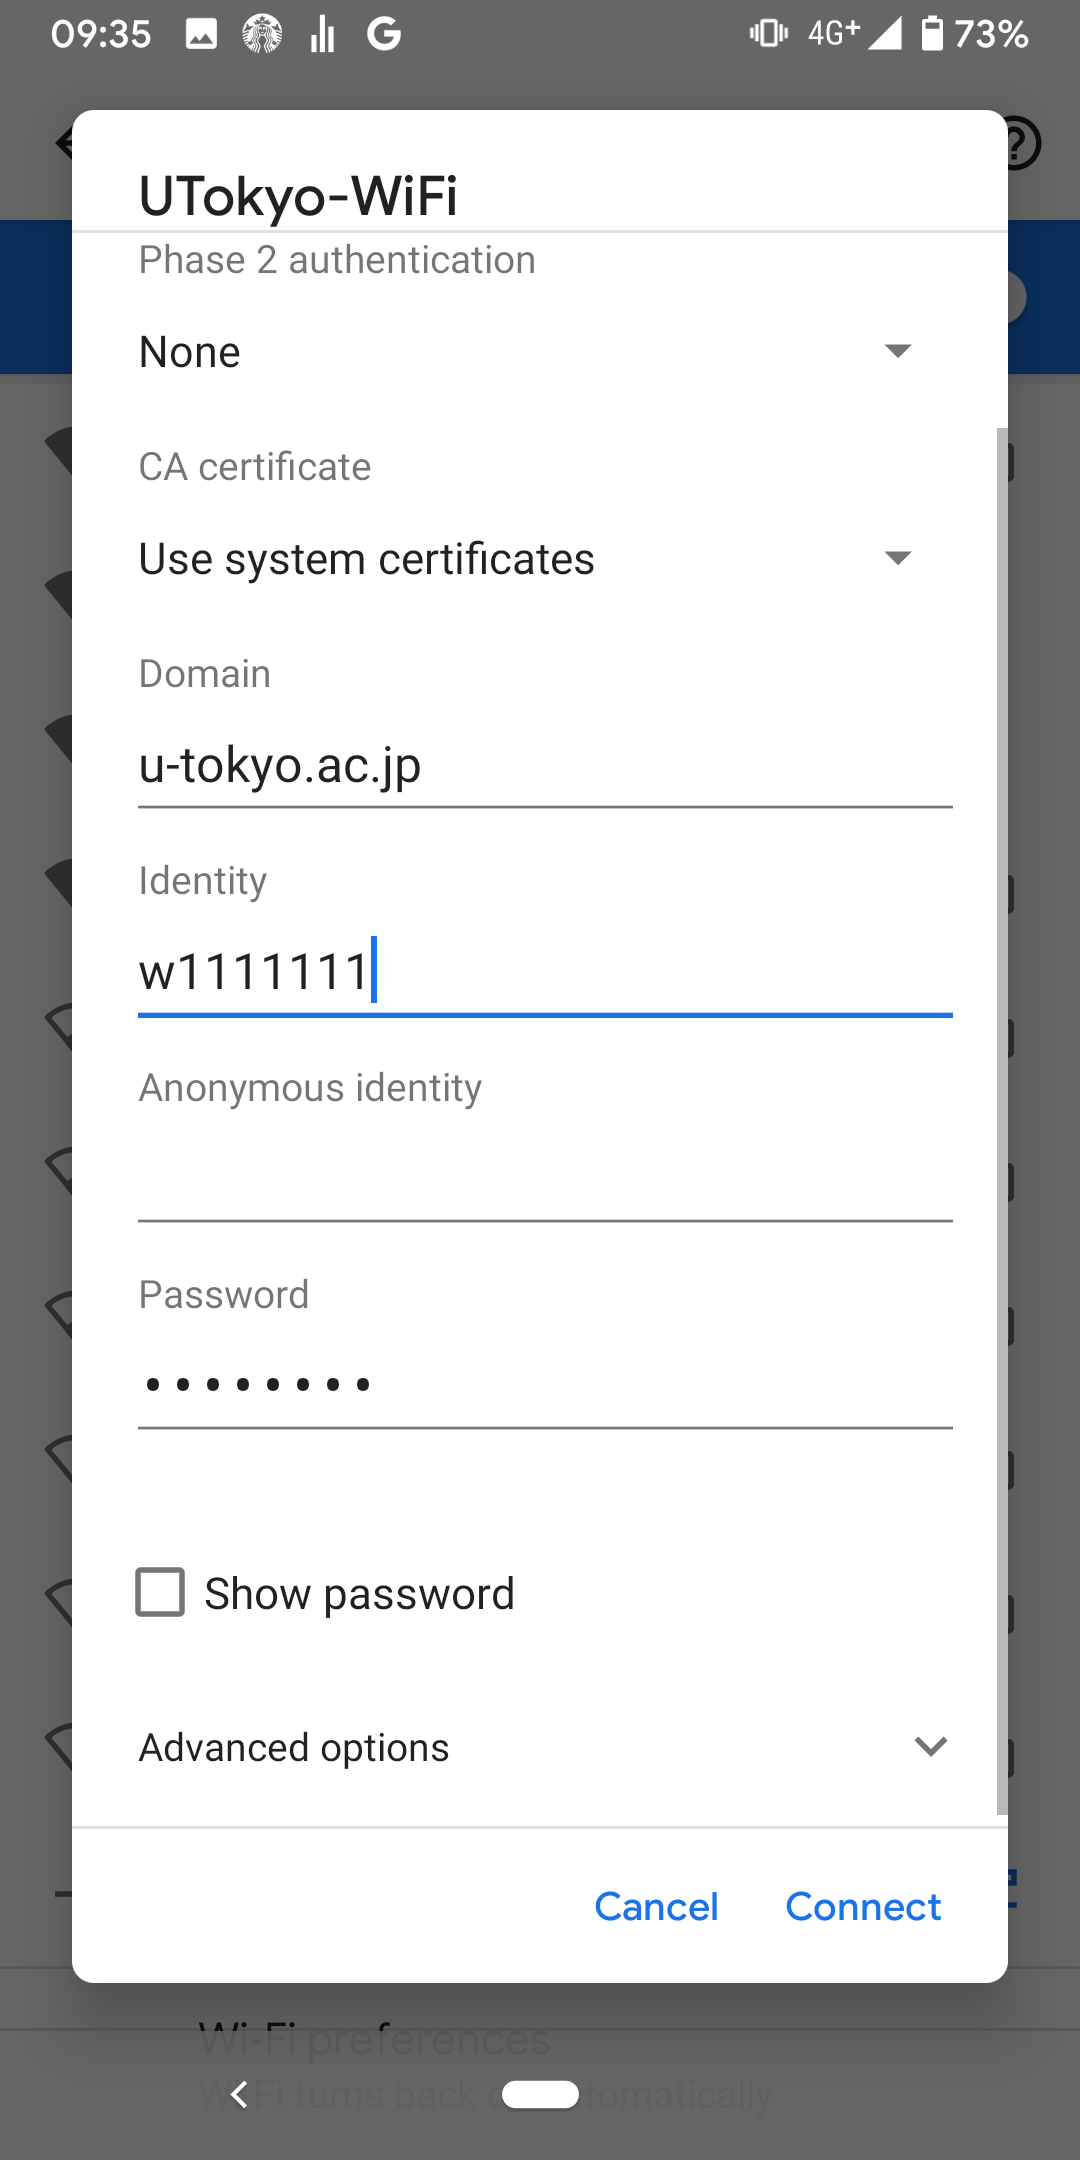
- Select Use system certificates for CA certificate, and enter
u-tokyo.ac.jpin Domain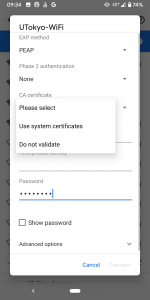
- Enter your UTokyo WiFi User ID and password that were send via e-mail, then tap Connect
An example of an older version, Android 6
- Open Settings App
- Turn on Wi-Fi
- Tap 0000UTokyo (This screenshot is old)
- Set EAP method and Phase 2 authentication correctly, and select (unspecified) for CA certificate
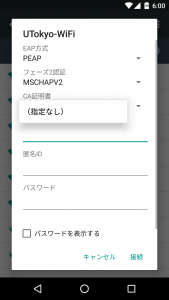
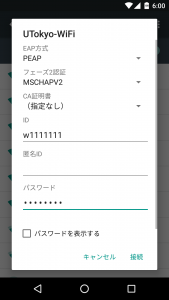
- Enter your UTokyo WiFi User ID and password that were send via e-mail, then tap Connect


Android Devices manufactured by SHARP
If you use an Android device manufactured by SHARP, you might have to install a certificate manually. It may be installed on recent SHARP device, so it is better to confirm Security & Location -> Encryption & credentials -> Trusted credentials
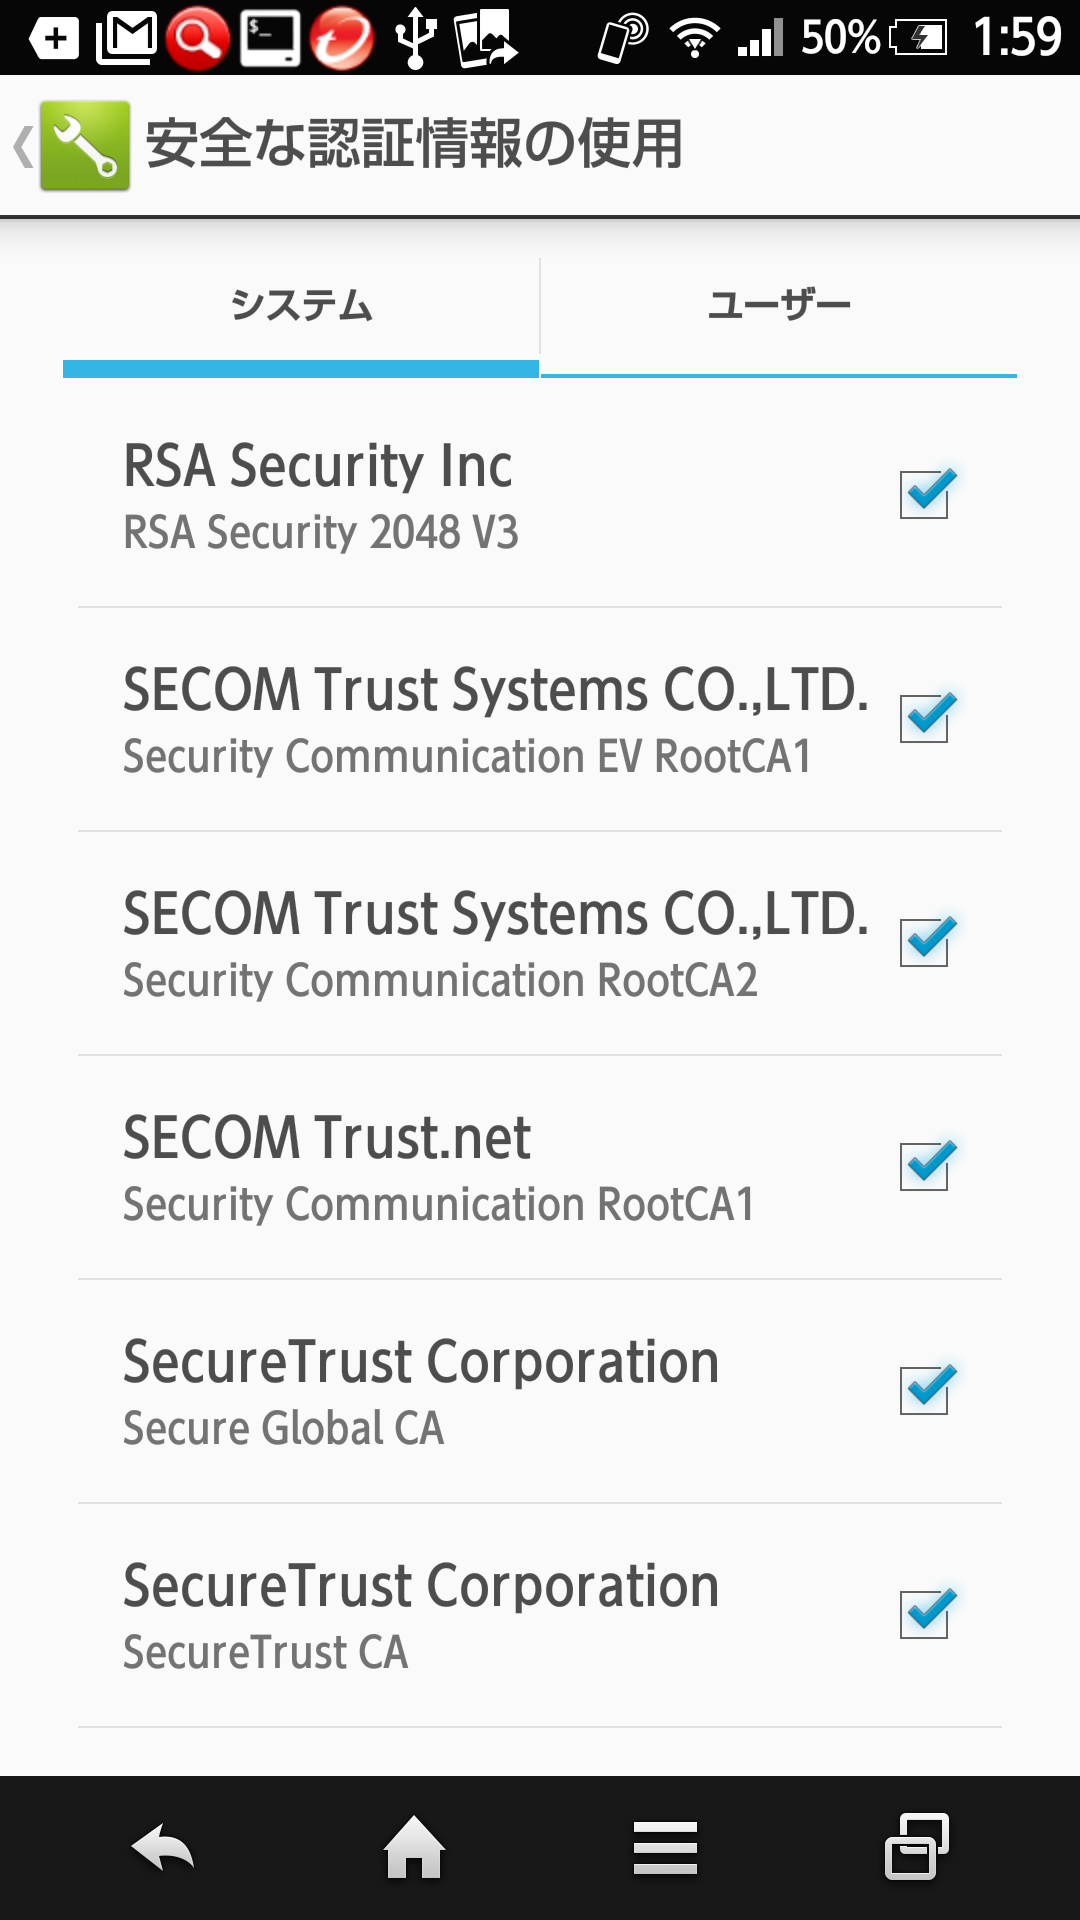
If you can see Security Communication RootCA2 you don’t need to install the certificate.
【Reference page (In Japanese)】
http://www.eduroam.jp/docs/supplicant/android/sharp.html
(Please replace RootCA1 -> Root1 / RootCA2 -> Root2)
【You can get certificate (RootCA2) on the webpage below】
https://repository.secomtrust.net/SC-Root2/
If you confirm that the certificate is installed, please set up in accordance with the following steps, which is same to the case in the devices that are not manufactured SHARP.
- Open Settings app.
- Turn on Wi-Fi
- Tap 0000UTokyo
- Confirm that PEAP and MSCHAPV2 is selected.
- Enter UTokyo WiFi User ID and the password sent via e-mail. Don’t put anything in “Anonymous ID”.
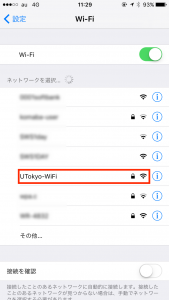
iPhone/iPad
** Please note that following process might vary depending on your device or OS version.
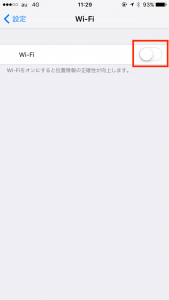
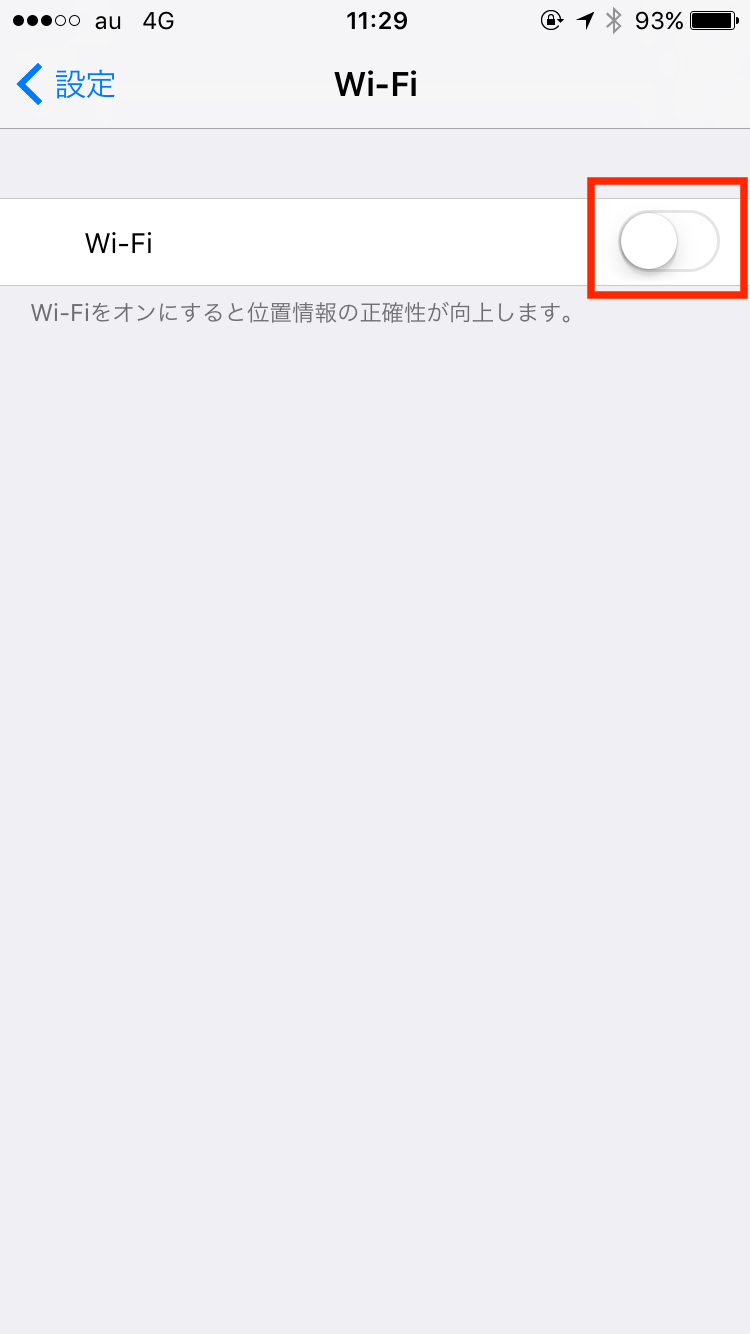
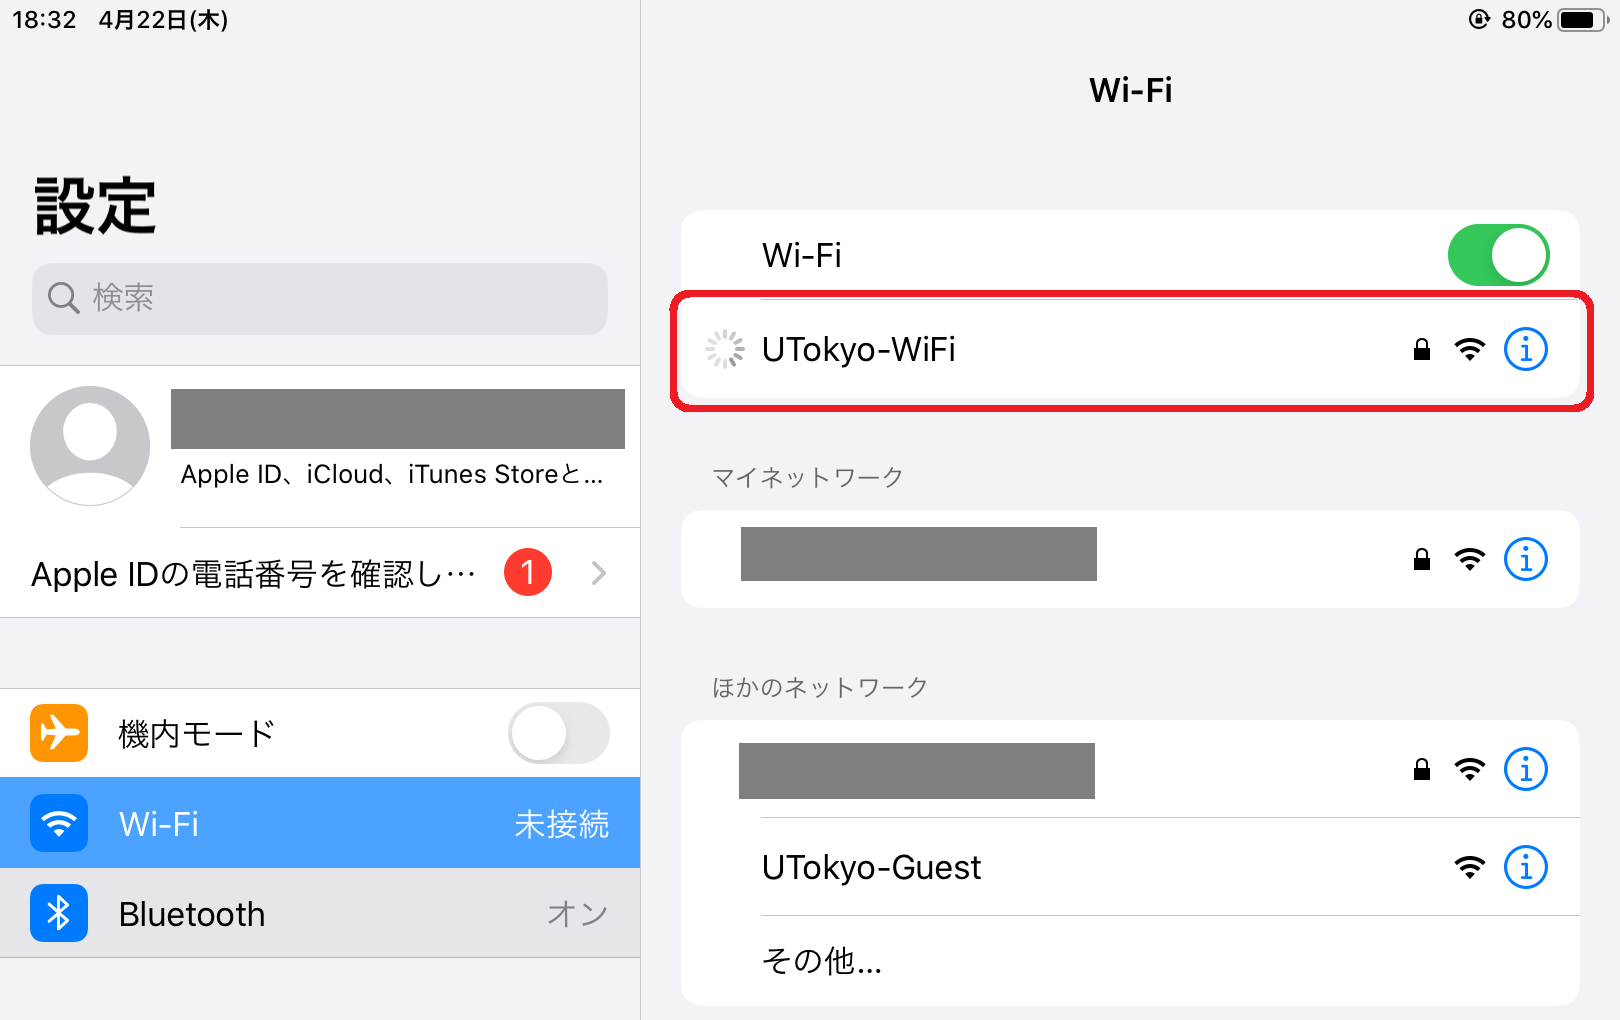
- Open Settings App
- Turn on Wi-Fi
- Tap 0000UTokyo (This screenshot is old)
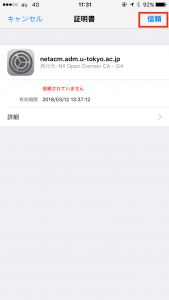
- Trust Certificate (This screenshot is old)
- Enter UTokyo WiFi User ID and the password sent via e-mail and tap Connect
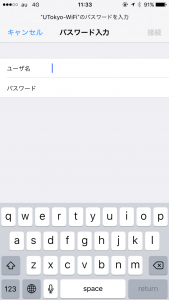


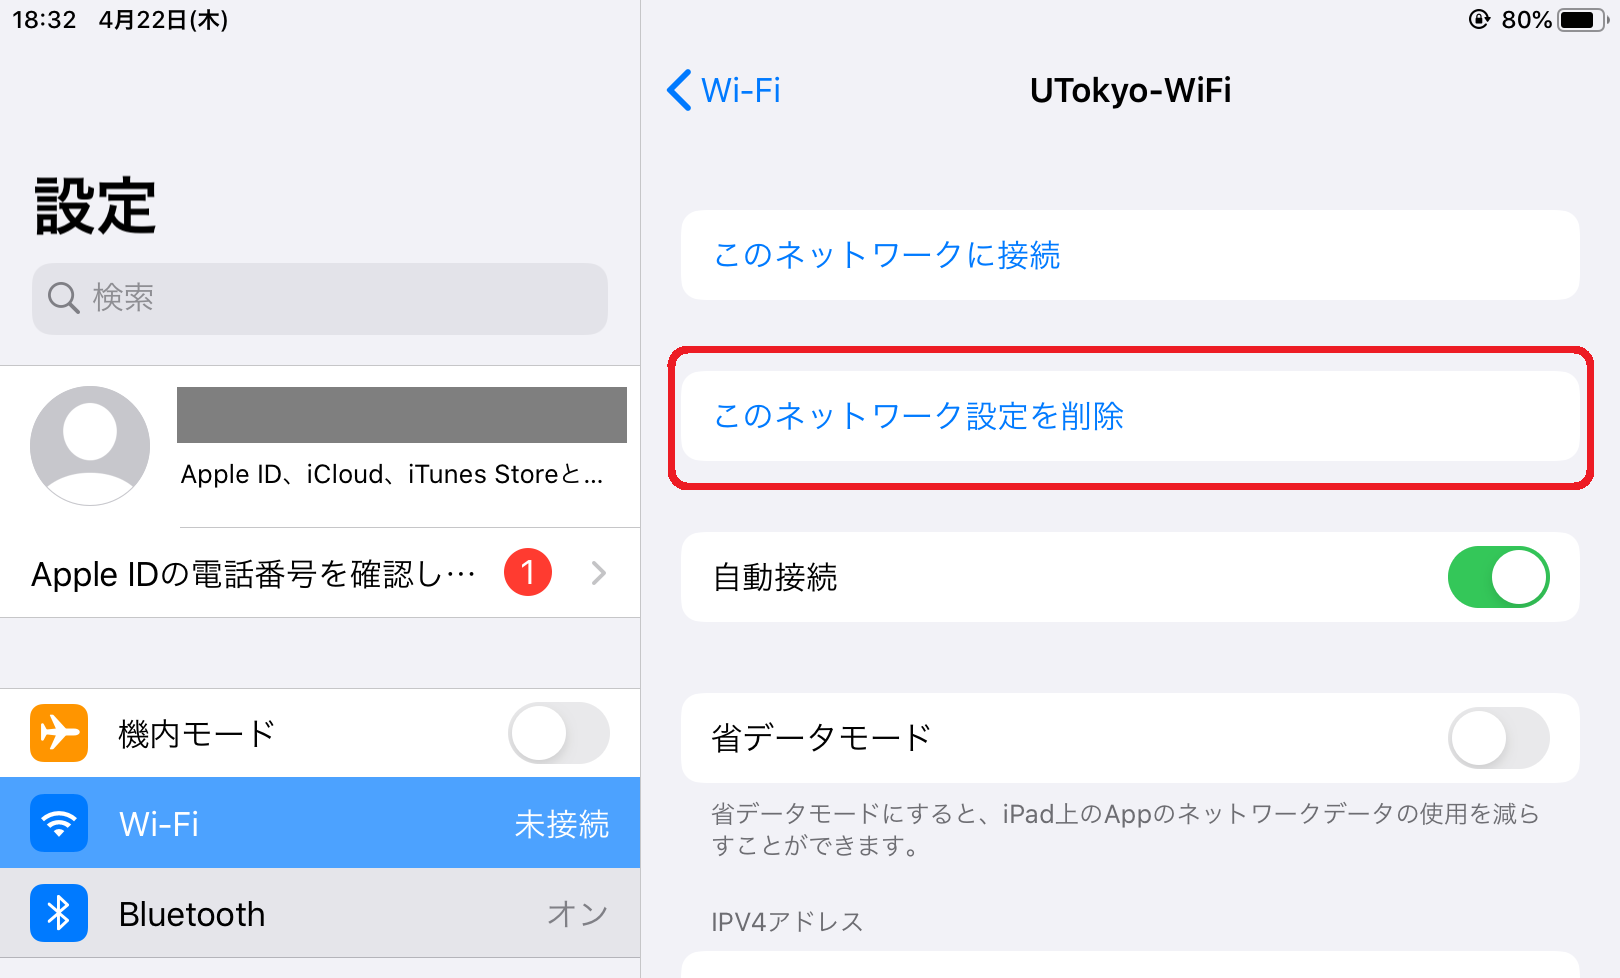
- If you do not get to the user ID and password entry screen at this step, it may be because the device still has the old user ID and password configuration. You may select "Forget This Network" to delete the old settings before trying to connect, and then follow the above steps again.


Mac
** Please note that following process might vary depending on your device or OS version.
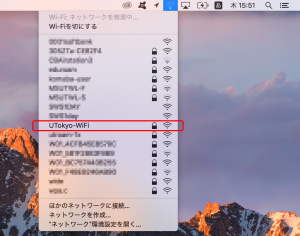
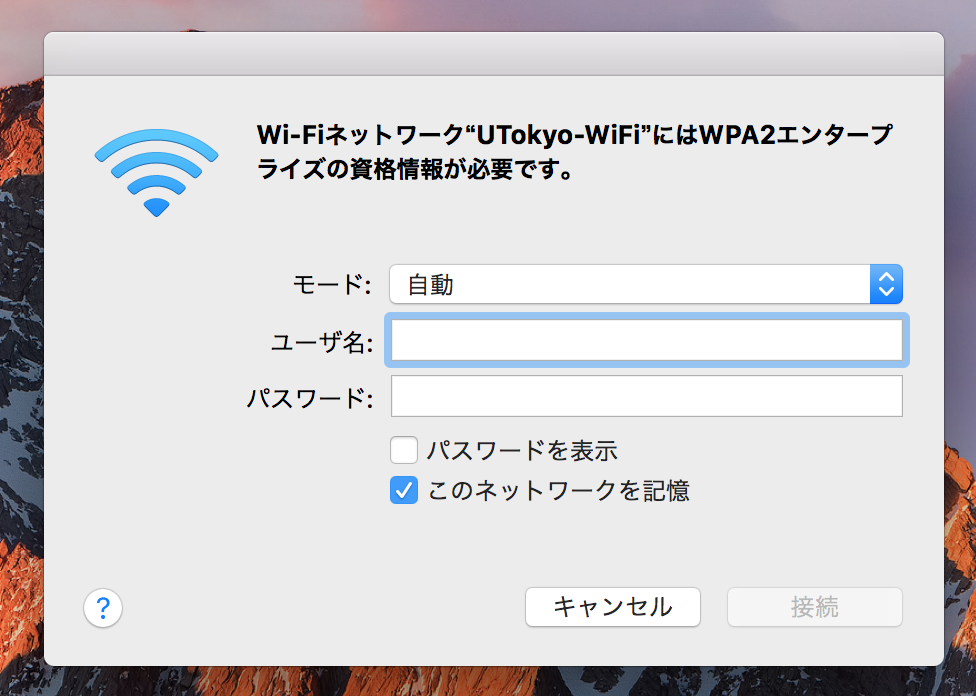
- Click on the Wi-Fi icon on your menu bar
- Click on 0000UTokyo (This screenshot is old)
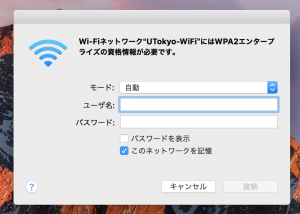
- Enter UTokyo WiFi User ID and password sent via e-mail.

Windows11
** Please note that following process might vary depending on your device or OS version.
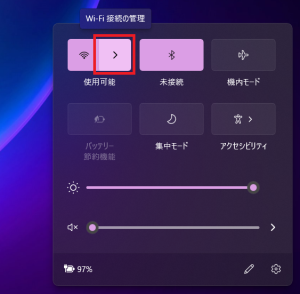
- Click the icons of globe, speaker, or battery on the task bar and open the quick settings

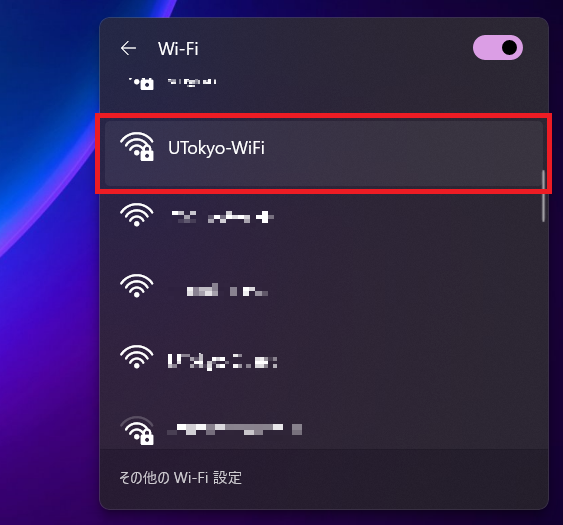
- Check whether Wi-Fi is enabled on your device. Click ">" icon on the right side and open the Wi-Fi window
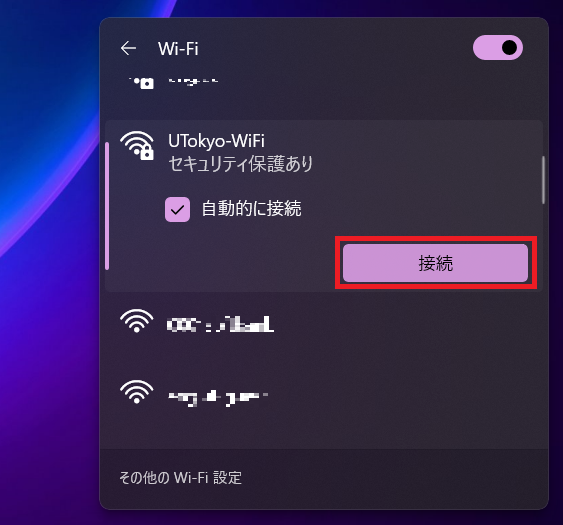
- Select "0000UTokyo" and push the Connect button (This screenshot is old)


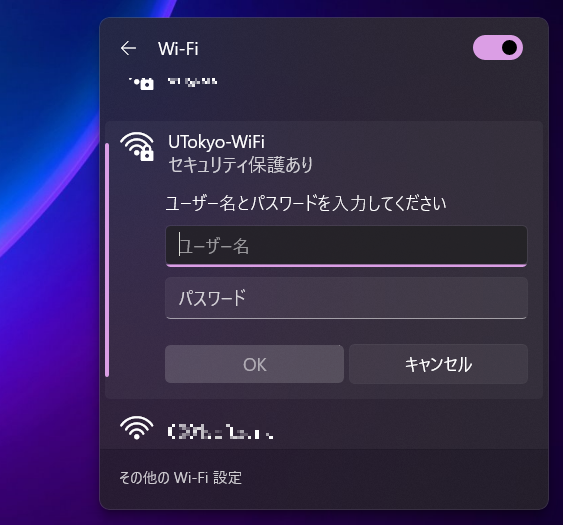
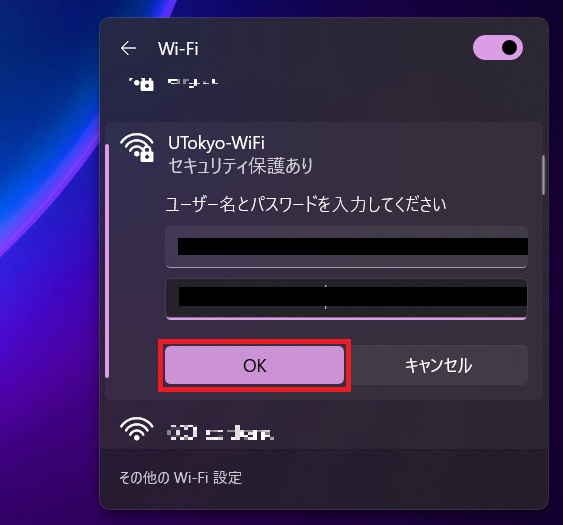
- Enter UTokyo WiFi User ID and password that were sent via e-mail


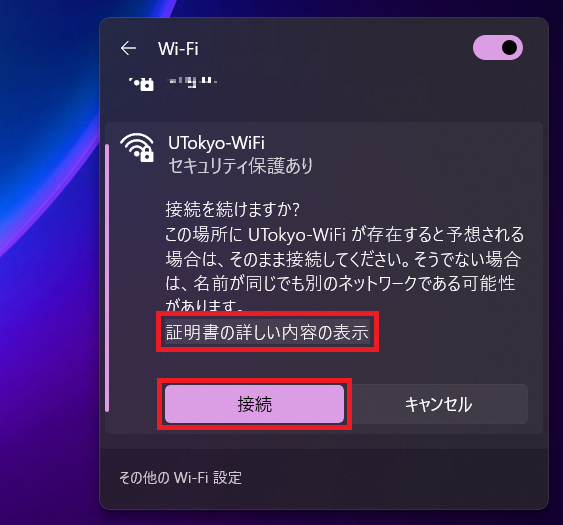
- You will be asked “Continue connecting?”. Select Show certificate details. Then the Server Fingerprint will appear. Confirm that it is identical to the fingerprint shown on the UTokyo WiFi official web site, then select Connect.


If you can’t connect by the procedure above, manual settings might help you. Please access the web page below.
Setting UTokyo WiFi on Windows 10 – FAQ
Windows10
** Please note that following process might vary depending on your device or OS version.
- Select Wi-Fi icon on the right bottom corner of your screen
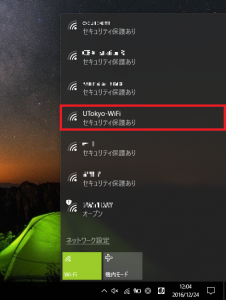
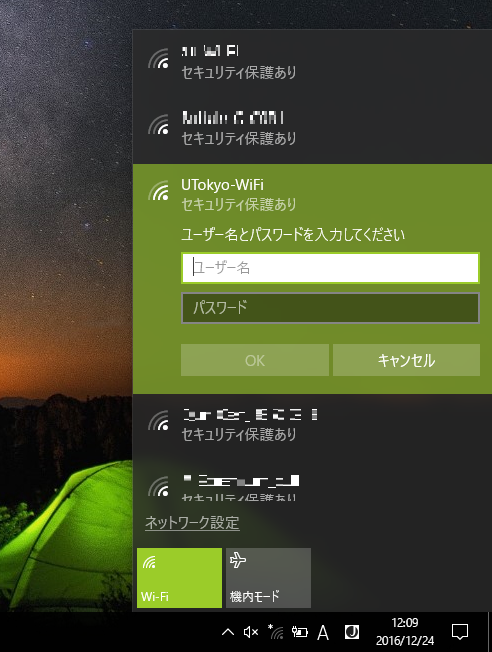
- Select 0000UTokyo (This screenshot is old)
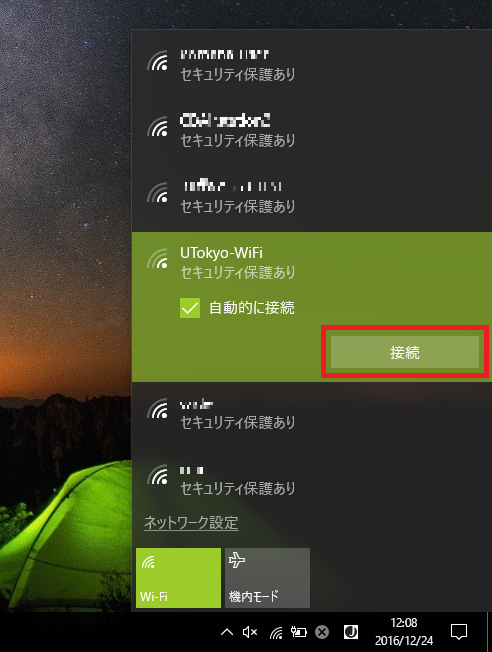
- Select Connect

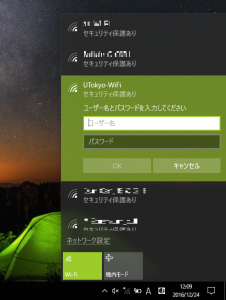
- Enter UTokyo WiFi User ID and password that were sent via e-mail
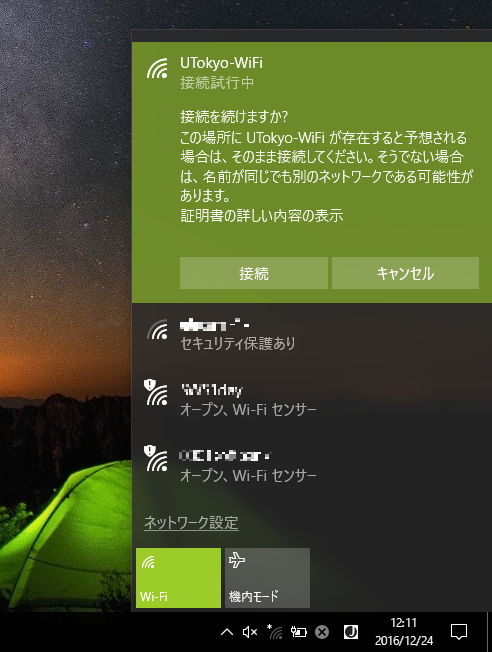
- You will be asked “Continue connecting?”. Select Show certificate details. Then the Server Fingerprint will appear. Confirm that it is identical to the fingerprint shown on the UTokyo WiFi official web site, then select Connect.


If you can’t connect by the procedure above, manual settings might help you. Please access the web page below.
Setting UTokyo WiFi on Windows 10 – FAQ
Windows8/8.1
This section has not been updated because Windows 8.1 is no longer supported.
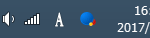
- Select histogram icon on right bottom corner of your screen.
- Select UTokyo-WiFi
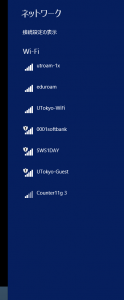
- Select Connect

- Enter UTokyo WiFi User ID and password sent via e-mail
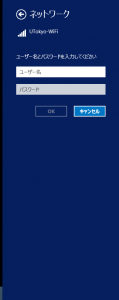
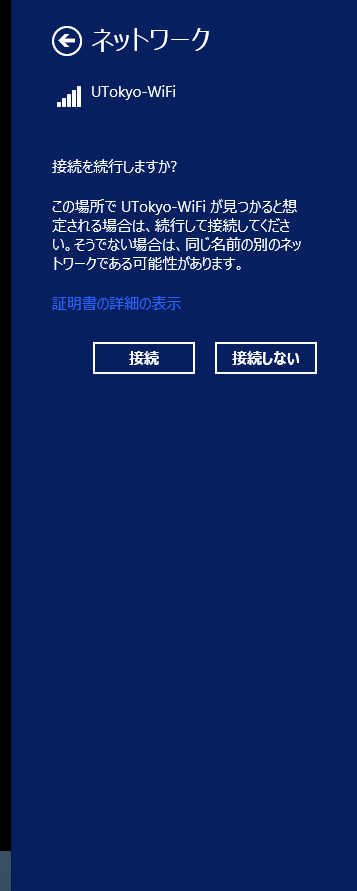
- You will be asked “Continue to connect?”. Select Show detailed certificate. Then the Fingerprint of server will appear. Confirm that it is identical to the fingerprint shown on the UTokyo WiFi official web site, then select Connect.


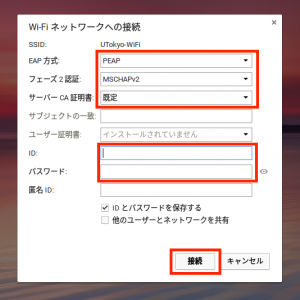
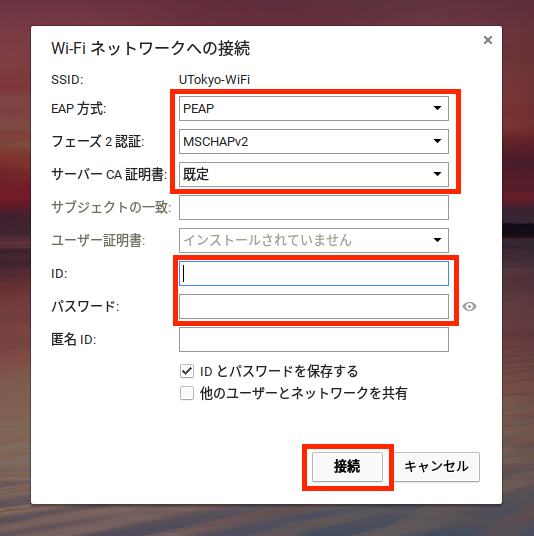
Chromebook (Google ChromeOS)
** Please note that following process might vary depending on your device or OS version.
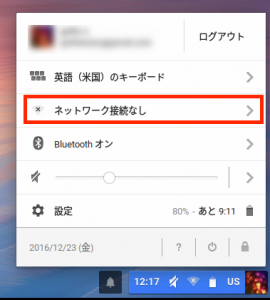
- If WiFi is disabled, enable it
- Select Wi-Fi icon on your desktop

- Select Network connection
- Select 0000UTokyo (This screenshot is old)
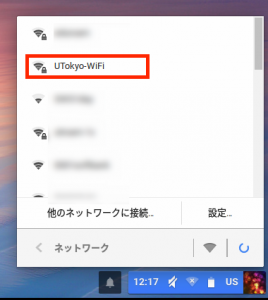
- Detailed settings is following: “EAP method” -> PEAP, “Phase2 Auth” -> MSCHAPv2, “Server CA certificate” -> Default. Enter ID / password of UTokyo-WiFi account sent via e-mail. Then click Connect.